Skip to content

Patrick Steinert Posts

Use GraphQL for many frontends

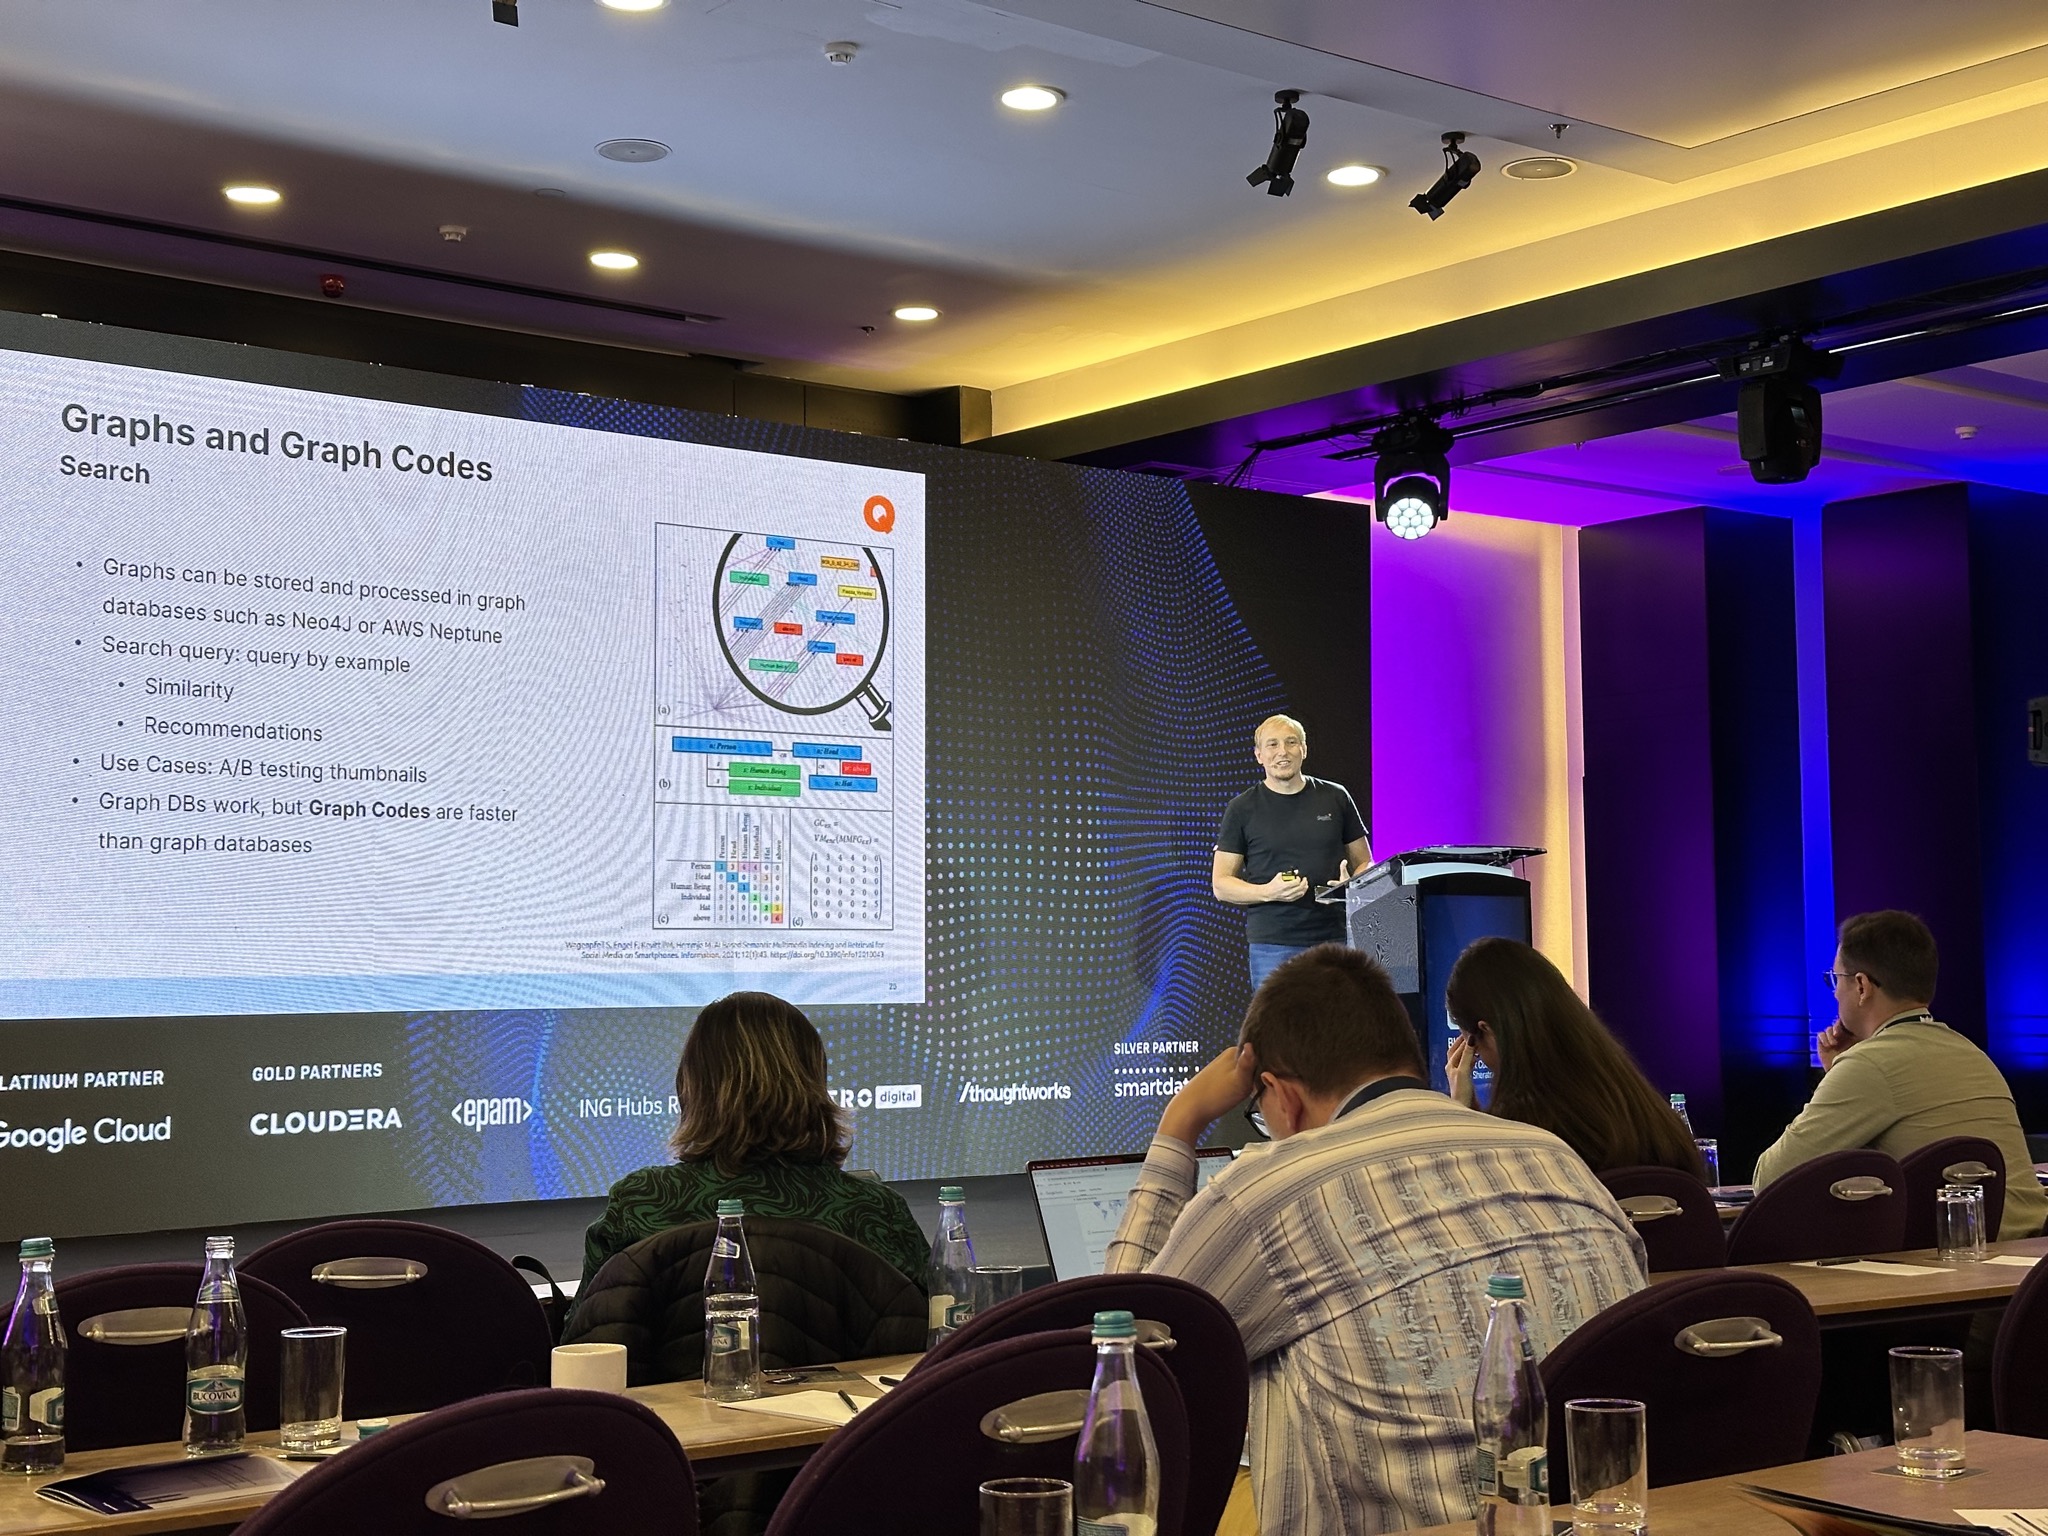
It’s been a while… this year I had a talk at the Free and Open Source Software Conference (FrOSCon) about serving multiple frontends with a single (GraphQL) API. The talk was recorded (in German). I wanted to share it with the rest of you.

For those of you that are not familiar with GraphQL, here’s a bit of an intro. GraphQL is a query language for APIs, usually based on HTTP. It allows the requesting client to specify the wanted attributes in the request. Hence, it does not transmit too much or too little information and solves under and over-fetching happening with REST APIs. There is a lot more in GraphQL. Just hit the play button.

Leave a Comment

Install InfluxDB 2 on a Raspberry Pi 4 in Kubernetes

I wanted to install InfluxDB 2 on a RaspberryPi 4 in Kubernetes for my home lab setup. I found out, this is not too easy because of 64bit OS and Influx Helm charts. Therefore, here is the comprehensive guide to installing Influx on k8s.

Prerequisites

Install InfluxDB 2 on a Raspberry Pi 4 in Kubernetes
Image Credit: https://www.raspberrypi.org/ / CC BY-SA (https://creativecommons.org/licenses/by-sa/4.0) via Wikimedia Commons: https://commons.wikimedia.org/wiki/File:Raspberry_Pi_4.jpg

I have used the Raspberry Pi 4 Model B(*) for my experiments, but this should also work with the Raspberry Pi 3. The newer RPIs are needed because of the 64-bit architecture because Influx just provides Docker images for 64-bit ARM. Of course, I learned this the hard way.

It is also necessary to install a native 64-bit OS on the RPI. This can be Raspberry Pi OS (64-bit beta) or Ubuntu Server (untested). It won’t work if you just set the 64-bit flag on the boot command line. The kubernetes (or helm) architecture selection mechanism will fail in this case.

For Kubernetes, I used a plain k3s (v1.19.15) installation via k3sup. I used Helm (v3.5.4) on a remote machine for the installation.

Installation of InfluxDB 2 in Kubernetes

I used the helm charts from Influx itself. They have some flaws, but in the end, they worked. I also tested with the bitnami help charts, but they didn’t work because of a missing image for ARM architecture. This can maybe be fixed manually, but I was happy with the Influx charts.

To use the helm charts, you need to add the repo to helm:

helm repo add influxdata https://helm.influxdata.com/

Then search for the influxdb2 helm chart. I have used Lens for this step.

Screenshot of lens

At the time I’ve tried, version 2.0.1 of the helm chart was the latest. This chart didn’t work because of a wrong file path (https://issueexplorer.com/issue/influxdata/helm-charts/350). Version 2.0.0 worked fine despite a minor older version of the InfluxDB.

Additional to the helm charts, I have set up an ingress to access influx UI from the outside. You need to replace the serviceName with the generated service name (auto-generated from the helm chart process).

---
apiVersion: networking.k8s.io/v1beta1
kind: Ingress
metadata:
name: influx-ingress
annotations:
kubernetes.io/ingress.class: "traefik"
traefik.frontend.rule.type: PathPrefixStrip
spec:
rules:
- http:
paths:
- path: /
backend:
serviceName: influxdb2-xxxxx
servicePort: 80

This way I can access the InfluxDB 2 on the Raspberry Pi 4 through the Kubernetes. A drawback is the missing custom base path of influx. Therefore, you can’t use another path other than the root for the ingress rule.

I hope this helps you to set up InfluxDB 2 on the Raspberry Pi 4 in Kubernetes. Let me know if you have struggles or tips for even better ways.

Leave a Comment

NVidia Jetson Nano fan direction

NVIDIA Jetson Nano fan direction for Noctua NF-A4x20 PWM

Recently I bought an NVidia Jetson Nano board and a fan for a side project. It is about machine learning with training and inference. Therefore, the CPU and GPU will work a lot and get hot! I searched the web for the right fan and I found the Noctua NF-A4x20 PWM (Amazon*) is recommended. A perfect product: low noise, rubber decoupling, good performance.

As it was delivered, I installed it immediately – of course. The question was: which direction?

So I did some tests in both fan directions. Running a high CPU intense compilation, the performance was better in the downward direction.


Jetson Nano fan – comparison CPU test.

Upward Downward
44°C 40°C

Upward / Downward according to the arrow on the side of the Noctua NF-A4x20 PWM fan.

It is just a few degrees of difference. But it will count if you do training on the Jetson Nano. I did a couple of TensorFlow training jobs which took 12-19 hours. CPU & GPU got very hot, and the fan has cooled the NVidia Jetson Nano like a charm. By the way, I used the 4GB version, but I think the cooling performance and temperatures are the same as the 2GB version.

I also tried the non-PWM version of the fan with the same results. But since the fan is always on without PWM, it is fairly noisy. With the PWM version, the fan usually runs with just 33% of the maximum power.

So I hope this helps for your Noctua NF-A4x20 PWM fan installation: recommended direction is downward according to the arrow printed on the side of the fan.

Leave a Comment

Recognizer – a smart scale approach

Im Supermarkt darauf warten, dass der/die Kassierer/in den Code für das zu wiegende Obst oder Gemüse raussucht? Kommt Dir bekannt vor? In einer digitalisierten und hoch-performanten Welt sollte das doch eigentlich nicht nötig sein, oder? Dachte ich mir auch. Also mal schnell was überlegt: Ich wollte doch schon immer mal was mit dem NVIDIA Jetson Nano (Amazon*) machen: ein Edge Device, 120 €, 128 GPU Cores, 472 GFLOPS Rechenleistung, 5 Watt Stromverbrauch. Überzeugt. Für eine Kassenwaage sollte es ja auch kein GPU System für 2.000 € oder mehr sein. Also, taugt es etwas?

1 Comment

Was sind Digitale Assistenten

Was sind eigentlich Digitale Assistenten?
Ich hab mal ein kleines “Erklärungsvideo” produziert. Hier erfahrt ihr, was Digitale Assistenten sind, was sie nicht sind, was sie können und wofür ihr sie nutzen könnt.

Please accept YouTube cookies to play this video. By accepting you will be accessing content from YouTube, a service provided by an external third party.

YouTube privacy policy

If you accept this notice, your choice will be saved and the page will refresh.

Leave a Comment

Gitlab für Continuous Integration & Continuous Delivery

Ist Gitlab für Continuous Integration und Continuous Delivery (CI/CD) ausreichend? Das habe ich mich gefragt, als ich seit langer Zeit mal wieder ein halbwegs ernsthaftes Entwicklungsprojekt begonnen habe. Da ich keinen extra Jenkins aufsetzen wollte, habe ich mir die Funktionen von Gitlab angesehen. In diesem Sinne hier meine Meinung dazu. Disclaimer: ich muss sagen, dass ich mich nicht in epischer Breite damit befasst habe. Daher ist es eher eine Newbie-Meinung als Fachartikel.

Prinzipiell möchte ich die Software aus den Repositorys der einzelnen Komponenten

  • kompilieren,
  • die Tests ausführen,
  • ein neues Docker Image auf einer eigenen Docker Registry bereitstellen und
  • auf einem Staging-System deployen.

Funktional ist das für Gitlab kein Problem. Bis auf den letzten Punkt. Ein wenig.

Positiv

Was ich allgemein gut finde ist, sich Alles in demselben System befindet. Alles ist in einer Oberfläche, es gibt nur einen Login, die Repository und Build Informationen sind im UI miteinander verknüpft. Das ist doch viel einfacher zu handhaben als ich das sonst kenne. So habe ich mir das vorgestellt.

Das System verwendet Docker Images als Buildumgebung. Das ist vorteilhaft, denn man muss auf dem System nicht erst die Build-Tools (wie Maven, Java, npm, etc.) installieren, sondern kann entsprechende Images nutzen. Ein SSH-Login auf das Buildsystem oder die Worker-Nodes ist damit nicht notwendig, alles geht per Konfiguration im Git. (Zumindest, wenn die Kubernetes Nodes von jemanden eingerichtet werden.)

Negativ

Zur Konfiguration der Build Jobs (gitlab Pipelines) wird eine YAML Datei im Repository angelegt. In der Datei werden in entsprechenden Abschnitte die Build-Umgebung und die Build-Befehle angegeben. Ich finde da sehr unpraktisch. Ich will mich eigentlich nicht mit dem Befehlen und der Syntax für das Buildsystems beschäftigen, sondern einfach die Aufgabe einrichten. So ist es in etwa, als wenn ich Kunden im CRM per SQL Statement anlege. Eine dialogbasierte UI wäre um einiges angenehmer. Die Doku zu durchwühlen ist da doch um einiges aufwändiger als es sein müsste.

Für einzelne Repositorys kann man die Pipelines konfigurieren und wie oben gesagt, alle Schritte umsetzen. Ich habe jedoch keine Möglichkeit gesehen, abhängige Projekte zu bauen. Wenn ich also einen Service habe, der eine API für ein Frontend anbietet, dann möchte ich, bevor ich den Service auf eine Live Umgebung deploye, zunächst die Integration Tests des Frontends ausführen um zu sehen, ob alles läuft. Solche Abhängigkeiten oder auch Continuous Delivery Pipelines konnte ich nicht konfigurieren. Vielleicht habe ich aber auch nicht tief genug in die Dokumentation der YAML Files geschaut.

Fazit

Man kann Continuos Integration mit Gitlab machen, wenn man auf Config-Files steht. Für größere Projekte und Continuous Delivery hilft mir persönlich das System so erstmal nicht weiter. Da nutze ich doch lieber eine der Alternativen.

Hat jemand andere Erfahrungen?

1 Comment

4 Tips for development of Alexa Skills

In the last weeks, I have developed some Alexa Skills for different purposes. It is really cool to develop the skills with the Alexa developer console. Building and testing the dialogue model is fairly easy. But at some points, you may encounter some problems like me. Therefore, I would like to share some tips with you to improve the user experience of a skill significantly.

Tip 1: Use Default Slot Types

Let’s start with a simple topic. If possible, use the provided slot types from Amazon, like Amazon.FOOD or AMAZON.NUMBER. These Slots have a huge set of data in the background. They are already optimized for a good NLP understanding. Doing this on your own is a lot of work and fine-tuning the model. Save yourself many hours and use what Amazon provides you.

Tip 2: Use a proxy for local development

There are different ways to implement the logic for the service: AWS Lambda or (self-hosted) endpoint services. If you develop endpoints services, you need to redirect the requests from the Alexa skill to the development instance, usually running on the local machine. An important thing is, the service needs to provide a valid TLS certificate. The easiest way to get it running is a web-proxy system like ngrok. Ngrok routes requests via a public web URL to your local development instance. And the best thing is, it has an option to provide a valid Wildcard-TLS-Endpoint which will be accepted by Alexa. This saves you a heck of time to set up anything equivalent with DynDNS and creating certificates. ngrok - a good tool for developing Alexa Skills

Tip 3: Answer not only use-case questions

During the development of Alexa skills, you work a lot through the questions (utterances) you have in mind with regard to the use case. But, think about your users. They can just interact with your app by asking questions. They can not click through a mobile app or website to search and find things they need. It’s important to be prepared for simple and general questions such as:

  • “What are the opening hours?”
  • “What is the address of a store?”
  • “What is the maximum of items I can order?”

Think about how your customer will ask questions. Ask your friends to try the skill and listen to their natural type of questions and commands. You can also log questions in the FallbackIntent to find out what real people say.

Tip 4: Test Alexa Skill dialogue with many people

This tip continues the thoughts of the previous. Many people will formulate questions and commands differently. Since the skill is usually used by many people, you need to be prepared for different types of utterances. Add as many sample utterances as you can to improve the user experience for the skill.

These 4 tips will improve the user experience of your Alexa skill. Do you have any further tips? Let me know in the comments.

2 Comments

6 Tipps zu IoT Analytics mit der CumulocityIoT Plattform

IoT AnalyticsEigentlich hätte ich gestern auf der buildingIoT Konferenz meinen Talk zu “IoT Analytics – Stream und Batch-Processing” gehalten. Nun ja, es sollte nicht sein. Daher habe ich meine Takeaways hier zusammengefasst.

In IoT Use Cases werden oft Daten verarbeitet. Ab einer gewissen Menge an Daten gibt es einen nicht mehr zu erfüllenden Zielkonflikt zwischen Real-Time-Anforderungen und der Genauigkeit. Dieser lässt sich durch die Lambda-Architektur auflösen und in zwei Layern getrennt erfüllen. In SaaS Plattformen, wie der CumulocityIoT, stehen dazu oft Mittel wie Complex Event Processing (CEP) Engines und REST-Schnittstellen zur Verfügung. Im Falle der CumulocityIoT Plattform läuft die Stream Verarbeitung über die CEP Engine Apama. Es gibt jedoch ein paar Dinge für eine stabile und effektive Verarbeitung zu beachten. Daher hier meine 6 Tipps zu IoT Analytics.

Leave a Comment

Testing Business Ideas – Zusammenfassung

Die Entwicklung von innovativen Produkten und Dienstleistungen ist nicht einfach. In der heutigen Zeit stehen zusätzlich immer kürzere Zeiträume und geringere Budgets zur Verfügung. Daher gilt das Motto “fail fast”. Doch wie bekommt man ausreichend Feedback vom Markt, um gute Entscheidungen zu treffen? Häufig ist man in der eigenen Filterblase gefangen, für große Maßnahmen wie einer Marktforschung fehlt die Zeit. Immerhin gibt es durch Online Kanäle eine Möglichkeit, eine große Gruppe zu erreichen. Doch als kleines Unternehmen fällt es schwer, genug Aufmerksamkeit zu erzeugen. Welche Wege zur Verfügung stehen, um trotzdem die Annahmen zu testen, beantwortet das Buch Testing Business Ideas. Die Autoren rund um Alexander Osterwalder und dem Unternehmen Strategyzer haben bereits mit den Büchern Business Model Generation* und Value Proposition Design* wertvolle Werkzeuge zur Entwicklung von innovativen Produkten und Dienstleistungen erzeugt.

Das Werk Testing Business Ideas baut quasi auf den vorhergehenden Werkzeugen Business Model Canvas und Value Proposition Canvas auf. Bei der Evaluierung von Customer Jobs, Pains, Gains und den dazu passenden Products & Services, Pain Relievers und Gain Creators trifft man Annahmen. Diese Hypothesen zu beweisen ist der Kern des Buches. Beschrieben wird das notwendige Mindset und die optimale Zusammenstellung eines Teams. Damit die Experimente auch einigermaßen wissenschaftlich und vergleichbar aufgesetzt und dokumentiert werden, gibt das Buch Vorlagen zur Hand. Dann gibt es einen ganzen Katalog von 44 Experimenten. Zusätzlich zu einer Beschreibung, liefert das Buch auch eine Einschätzung zu Dauer, Kosten und Werthaltigkeit der Experimente. Darüber hinaus gibt es auch Leitfäden, in welcher Reihenfolge und zu welchen Geschäftsideen (B2B Hardware, B2C SaaS, etc.) die Experimente passen.

Persönlich bin ich in der Entwicklung von B2B Service-Dienstleistungen tätig. Ich entwickle also z.B. Go-to-Market Strategien für technologielastige Beratungs- und Realisierungsleistungen. Daher ist das Buch nur teilweise hilfreich. Denn die Leitungen richten sich an einen recht kleinen Kundenkreis und sind höchst individuell. Belastbare Zahlen durch die Experimente zu erhalten ist schwer. In der Entwicklung von Produkten sowie Dienstleistungen im B2B oder B2C Bereich  sind die Experimente sehr hilfreich. Vom Aufbau und Inhalt handelt es sich um ein Top Buch.

Disclaimer: Die enthaltenen Links sind Affiliate Links. Sollte dadurch ein Kauf zustande kommen, erhalte ich einen Geldbetrag.

Leave a Comment